Modeling a topography is often a tricky part of creating a BIM model in Revit. Here we present some tips that can make this task much easier.
Autodesk gives you only the basic tools in Revit to create a topography. If you want a full toolset for this task you will need to use the other Autodesk’s software, Civil 3D. So the best way to create topography in Revit is to integrate Revit and Civil 3D. However this means you will need to handle with two software. Also Civil 3D is created primarily for civil engineers, and Revit for architects, structural and MEP engineers. Take into account that Revit doesn’t allow you to create topography from contour lines but only from points.
If you follow the native Revit workflow, this will be the route:
- Link CAD for reference. Link georeferenced CAD drawing of your terrain. Go to Manage -> Manage Links -> CAD Formats. Make sure “Current view only” option is un-checked.
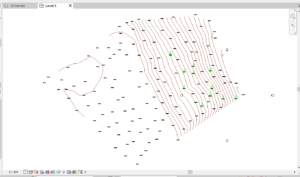
- Create toposurface. As previously stated, Revit creates toposurfaces from points not from lines. You can place these points manually or using a reference CAD file. Go to Massing & Site -> Toposurface -> Create from Import -> Select Import Instance. This command creates a toposurface based on 3D contour data from your CAD file. Revit will place a series of elevation points along the 3D contour lines.
In the “Add Points from Selected Layers” dialog check layers that contains points, and uncheck the other layers. - Adjust site settings. Open “Site Settings” dialog by clicking arrow in “Model Site” under “Massing & Site” tab. From there you can set density of contour lines, section cut material, elevation of poche base (depth of terrain in 2D views in relation to the internal origin of the project; this depth is not represented in 3D section views where the depth is infinite).

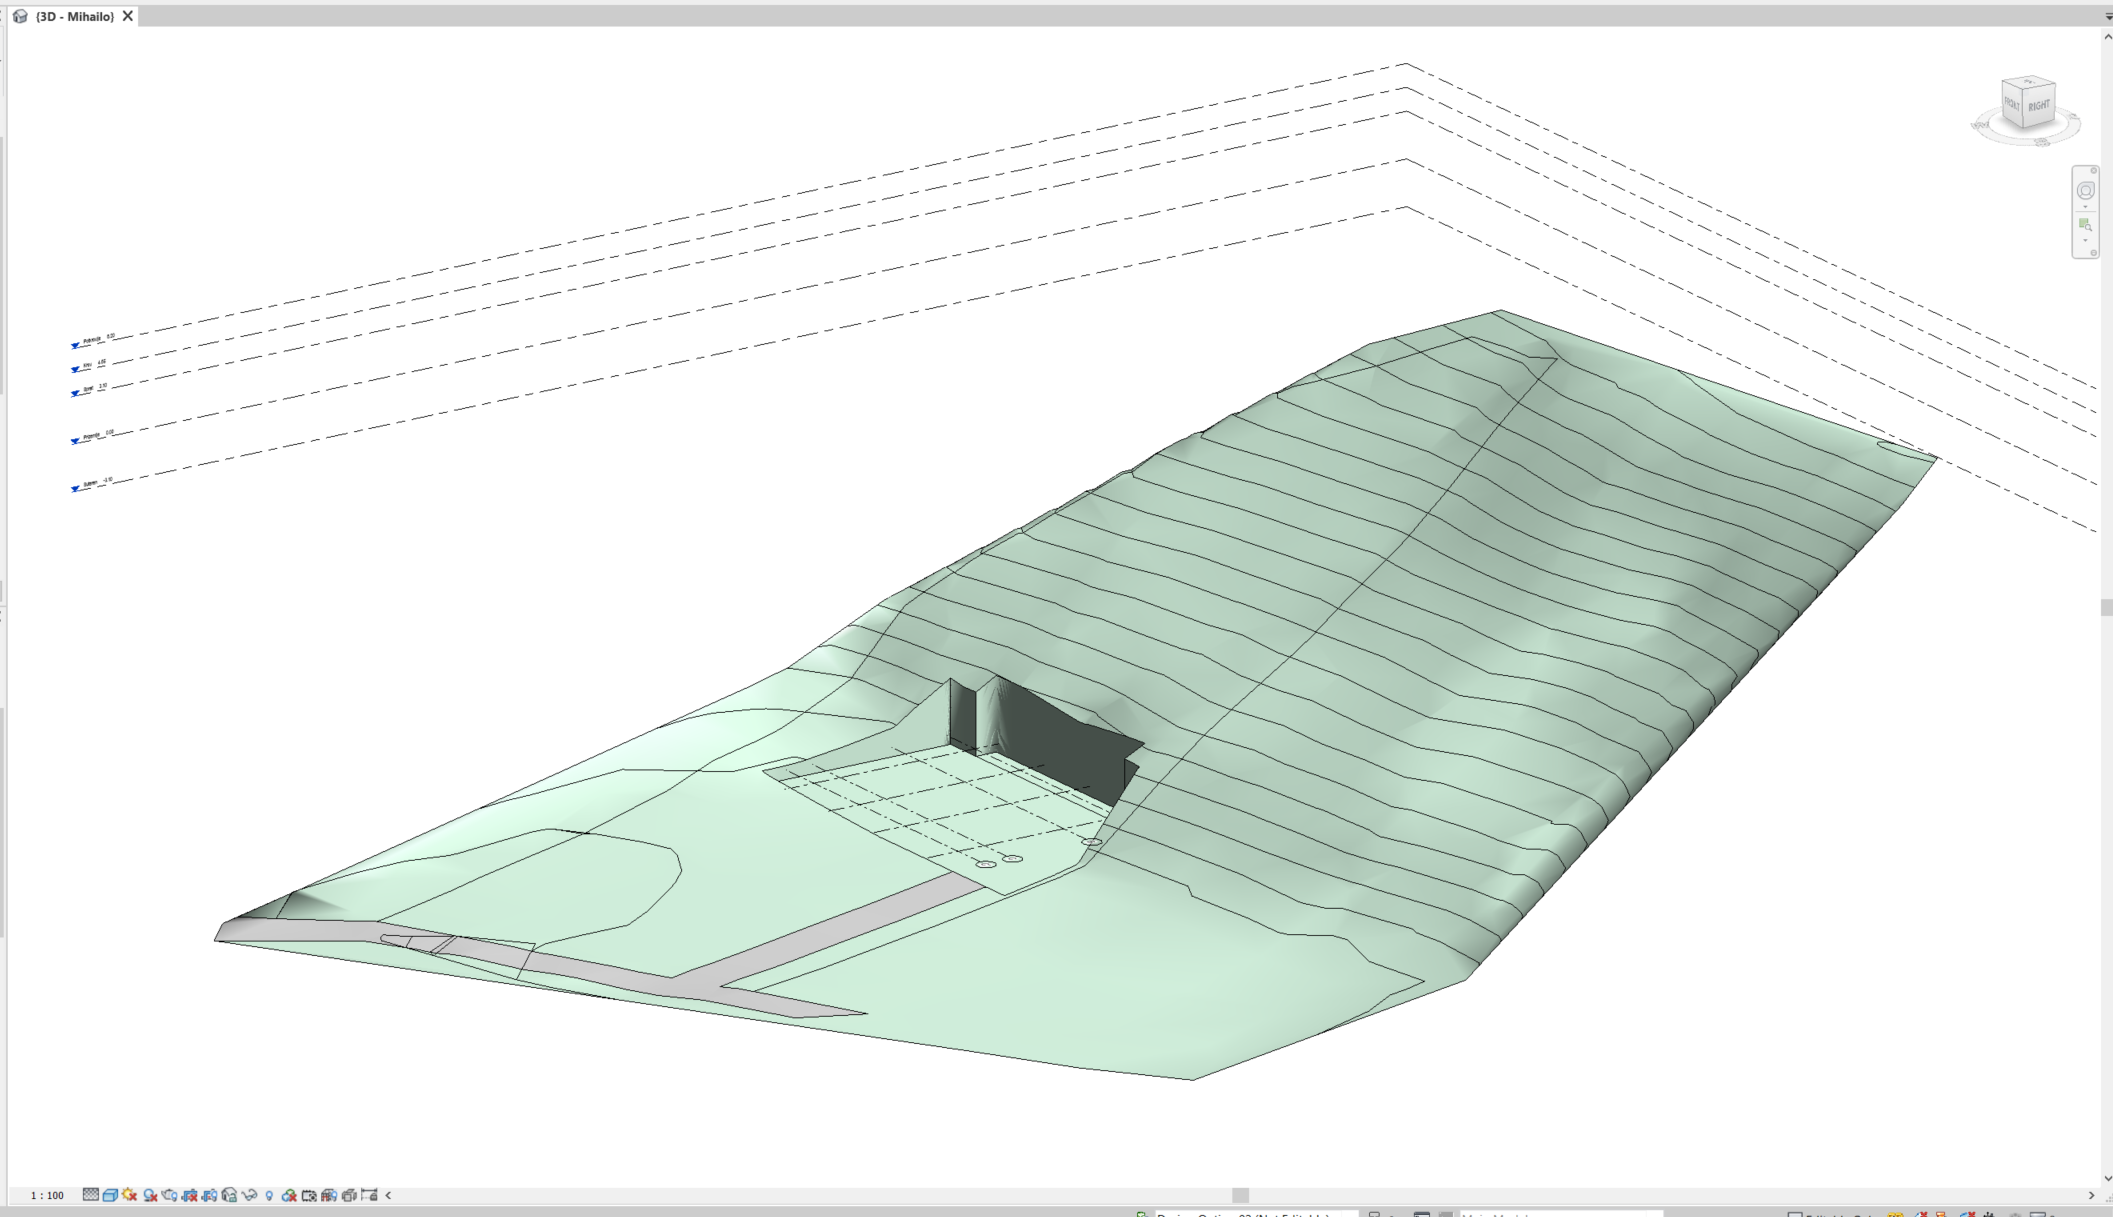
- Create Property Line, Building Pads and Subregions. The best method to create property line is by using “Property Line” command (to create “smart” object). Then select “Create by sketching” option and use your CAD file as reference to draw property line. In most cases, the position of the building pad is just below the foundation slab. You can create subregions for different materialization on the toposurface (e.g. asphalt, grass, pavement, etc.)
- If you have terrain over the object (for example, above underground garage) you need to create separate toposurface for that piece of terrain. The Building Pad can only be 90° vertical, without horizontal insets. You can also model In-Place family and specify appropriate Category (e.g. Topography) and Material (e.g. Earth).


You can enhance this workflow with several Revit add-ins including:
- Boost Your BIM Terrific Tools for Revit. This is a free, open-source add-in with set of tools that includes Topo From Lines command. With this command you can create a toposurface from contour lines: using model lines or CAD import/link. When you add or modify these lines you can easily update the toposurface.
- LTM – Landscape Terrain Modeller for Revit. This is paid add-in intended primarily for landscape architects to generate floors from toposurface, insert and edit sub-elements in floors, create filled regions connected with floors, etc. It also includes some advanced tools for toposurfaces, including tools to create toposurface on selected model lines, import model lines from DWG, create contour lines between two selected lines, place elevation texts on the selected contour lines, etc.
- Topography for Revit. One more paid add-in that you can use to create toposurfaces using LiDAR point cloud files.
You can also try the other add-ins with similar functionalities: Naviate Site & Landscaping for Revit, Environment for Revit, Bonus Tools for Revit (includes Topography set of tools).